Tyler Leonhardt 라는 분의 트윗을 통해 알게되어, 최근 dotnet-interactive라는 것에 관심을 가지게 되었습니다.
twitter에서 #dotnetinteractive 라는 태그를 사용해 보면, 훨씬 많은 정보를 만나볼 수 있습니다.
이 dotnet-interactive는 jupyter에서도 사용할 수 있고 vscode에서도 사용할 수 있는 것 같습니다만, 제 개발환경의 vscode 설정을 변경하면 현재 진행하고 있는 프로젝트에 영향이 발생해 곤란해지기 때문에, goormide의 jupyterlab에 설치해서 살펴보았습니다.
goormide container
우선 goormide에 컨테이너를 작성합니다.
그냥 empty 프로젝트를 사용해도 되지만, 이쪽은 베이스가 되는 python이 python2이므로 jupyter 프로젝트를 사용한 컨테이너를 만듭니다.
starship
간단히, 그리고 재빠르게 startship 프롬프트를 설치합니다.
취향입니다. 무시하셔도 됩니다.
curl -fsSL https://starship.rs/install.sh | bash
echo 'eval "$(starship init bash)"' >> ~/.bashrc
eval "$(starship init bash)"
package repository
닷넷 코어를 설치하기 위해 다음의 명령을 실행합니다. 다음의 문서에도 기재되어 있습니다.
https://docs.microsoft.com/ko-kr/dotnet/core/install/linux-ubuntu#1804-
| |
dotnet core
SDK를 설치합니다. .NET Core SDK를 설치하면 해당 런타임을 설치할 필요가 없습니다.
| |
이제는 dotnet 커맨드를 사용할 수 있습니다.
.NET Interactive
다음은 jupyter용 커널을 설치합니다. 참조하는 문서는 이쪽입니다.
https://github.com/dotnet/interactive/blob/main/docs/NotebooksLocalExperience.md
먼저 어떤 커널이 설치되어 있는 지 확인해 봅니다.
jupyter kernelspec list
| |
아직 설치되어 있지 않네요.
dotnet tool install -g --add-source "https://dotnet.myget.org/F/dotnet-try/api/v3/index.json" Microsoft.dotnet-interactive
실행하면 다음과 같이 한글로 된 메시지도 보여줍니다.
| |
jupyter 커널을 설치하기 위해서 다음의 명령을 실행하라고 설명하고 있지만,
dotnet interactive jupyter install
정상적으로 실행되지 않습니다.
| |
흠.
.NET Core SDK를 방금 설치했기 때문에 설치한 도구를 실행하기 전에 로그아웃하거나 세션을 다시 시작해야 합니다.
이런 메시지가 있어서 컨테이너를 재기동 해봤지만, 다시 실행해도 dotnet-interactive라는 명령이 실행되지 않습니다. 어디에 있는 명령어인지 찾아보았습니다.
| |
흠. 직접 실행해 볼까요?
~/.dotnet/tools/dotnet-interactive jupyter install
| |
정상적으로 실행이 됩니다. PATH에 이쪽 경로를 넣어둡니다.
| |
네. dotnet interactive라는 명령이 정상적으로 실행되는 것을 확인했습니다.
다음은 jupyter 설정을 합니다.
generate jupyter config
기본적인 config 파일을 만들어 둡니다. 만일 변경하고 싶은 내용이 있으면 옵션으로 넘기는 방법도 있지만, 이쪽을 수정하는 방법도 있습니다.
root on goorm in ~ took 12s
❯ jupyter notebook --generate-config
Writing default config to: /root/.jupyter/jupyter_notebook_config.py
jupyter 어플리케이션을 dry run 해봅니다. 옵션으로 ip와 port를 설정합니다.
jupyter notebook --ip=0.0.0.0 --port=80 --no-browser --allow-root
브라우저에서 잘 실행되는 것을 확인합니다.
jupyter password
처음 살행할 때 토큰을 입력해서 사용권한을 확인하는데, 좀 불편하다면 패스워드로 변경해, 브라우저에서 입력하는 방법이 있습니다.
패스워드를 설정하는 방법은 jupyter_notebook_config.py를 사용하는 방법도 있지만, 그냥 jupyter notebook password 명령어를 사용하는 방법도 있습니다.
jupyter notebook password
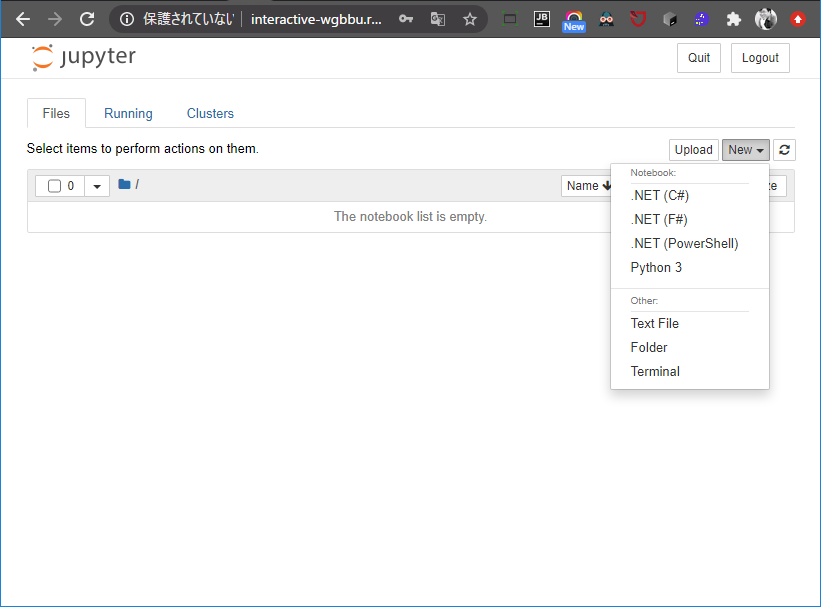
jupyterlab 설치
pip를 이용하여 jupyterlab을 설치합니다.
pip install jupyterlab
jupyter serverextension enable --py jupyterlab --sys-prefix
실행은 notebook 이라는 키워드 대신에 lab 이라는 키워드를 사용하면 됩니다.
jupyter lab --ip=0.0.0.0 --port=80 --no-browser --allow-root
실행 화면
실행화면은 다음과 같습니다.
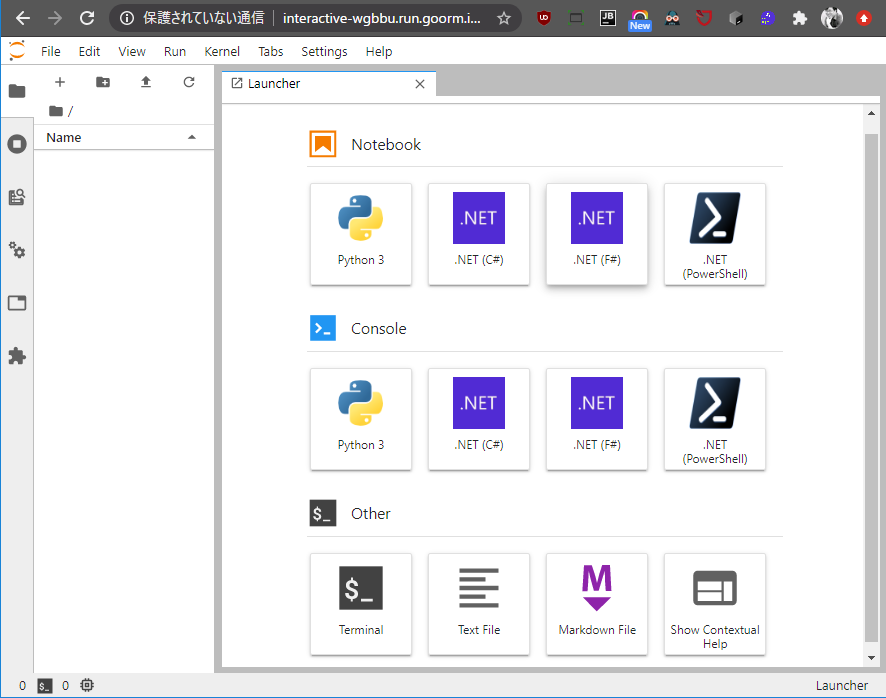
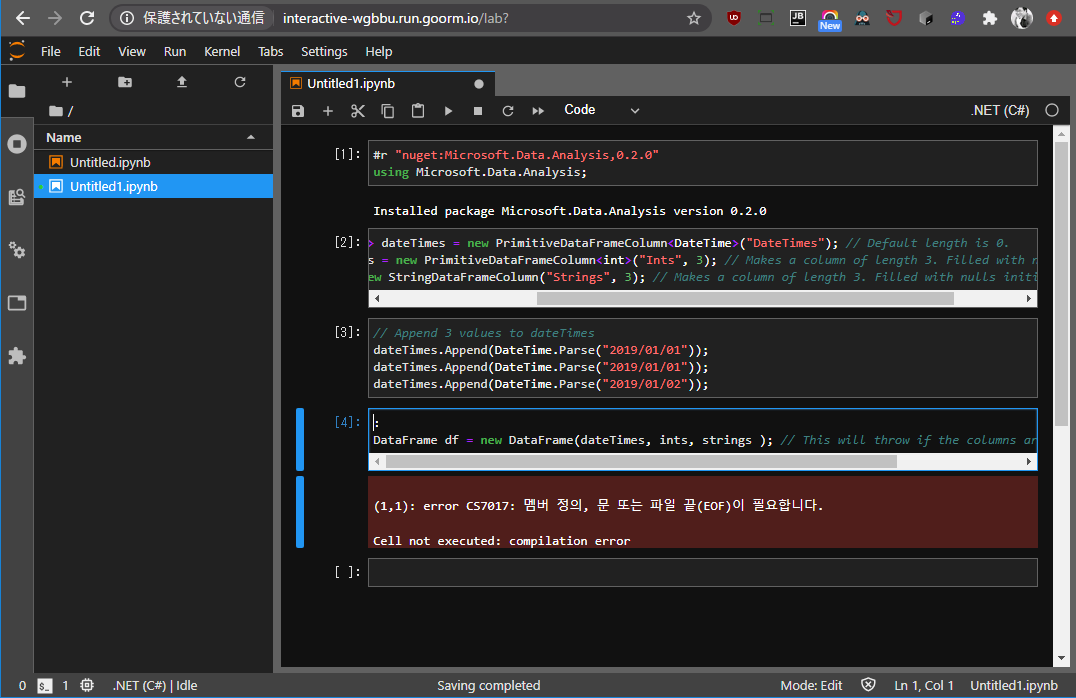
한글로 에러메시지도 나오고, 완벽하지 않지만, 인텔리센스의 기능도 사용할 수 있는 것을 확인할 수 있습니다.
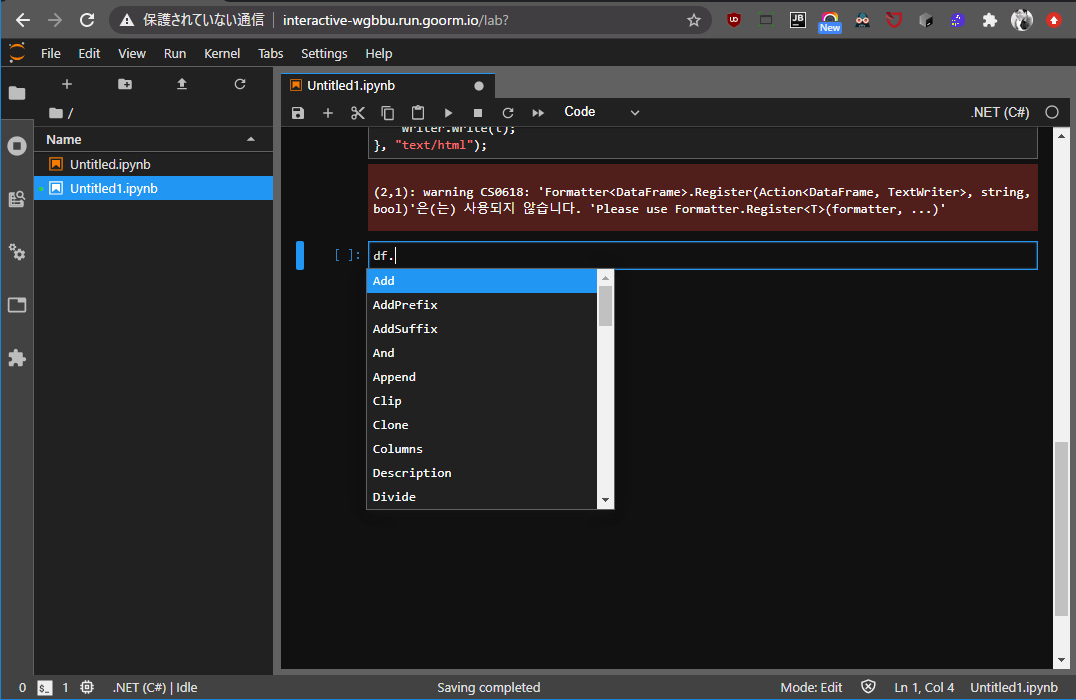
샘플은 이쪽을 사용하고 있습니다. 버전이 완전하지 않아서 약간 충돌이 발생하는 것도 확인할 수 있습니다.
https://github.com/dotnet/interactive/tree/main/samples
공부해야 할 것이 늘었네요.
문제
dotnet-interactive를 실행할 때,
❯ jupyter lab --ip=0.0.0.0 --port=80 --no-browser --allow-root
[I 13:59:35.551 LabApp] JupyterLab extension loaded from /usr/local/lib/python3.7/site-packages/jupyterlab
[I 13:59:35.554 LabApp] JupyterLab application directory is /usr/local/share/jupyter/lab
[I 13:59:35.567 LabApp] Serving notebooks from local directory: /root
[I 13:59:35.567 LabApp] The Jupyter Notebook is running at:
[I 13:59:35.569 LabApp] http://goorm:80/
[I 13:59:35.570 LabApp] Use Control-C to stop this server and shut down all kernels (twice to skip confirmation).
[I 14:00:10.072 LabApp] Kernel started: e7711d54-8c0f-47d4-94a3-583960d1339f
[I 14:00:17.749 LabApp] Saving file at /interactive/samples/notebooks/polyglot/COVID-19.ipynb
Hosting environment: Production
Content root path: /root/.dotnet/tools/.store/microsoft.dotnet-interactive/1.0.145402/microsoft.dotnet-interactive/1.0.145402/tools/netcoreapp3.1/an
y/
Now listening on: http://172.17.0.35:1000
Now listening on: http://127.0.0.1:1000
Application started. Press Ctrl+C to shut down.
csharp kernel이 시작되면 다음과 같이 listening하는 프로세스가 발생합니다
Now listening on: http://172.17.0.35:1000
Now listening on: http://127.0.0.1:1000
process를 보면 다음과 같습니다.
❯ netstat -tulpn | grep 1000
tcp        0      0 127.0.0.1:1000          0.0.0.0:*               LISTEN      759/dotnet-interact
tcp        0      0 172.17.0.35:1000        0.0.0.0:*               LISTEN      759/dotnet-interact
이 아이피를 글로벌(0.0.0.0)으로 실행하는 방법은 아직 탐색중입니다.
그래픽
다음의 예제에서처럼 XPlot 를 사용하면 그래프도 가능한 것 같습니다
레퍼런스
- https://goorm.io
- https://github.com/dotnet/interactive
- https://docs.microsoft.com/ko-kr/dotnet/core/install/linux-ubuntu#1804-
- https://github.com/dotnet/interactive/blob/main/docs/NotebooksLocalExperience.md
- https://github.com/dotnet/interactive/tree/main/samples
- https://devblogs.microsoft.com/powershell/public-preview-of-powershell-support-in-jupyter-notebooks/